Changing your vehicle's brakes is an essential maintenance task. While the procedure can vary depending on the type of brake system and specific vehicle, here is a general step-by-step guide to help you change your vehicle's brakes properly:
Note: This guide assumes you have a basic understanding of automotive maintenance and access to the necessary tools. If you are unsure, it's best to consult a professional mechanic.
- Gather necessary tools and materials:
Lug wrench
Socket wrench and appropriate sockets
C-clamp or brake caliper compressor tool
Brake cleaner
Shop towels or rags
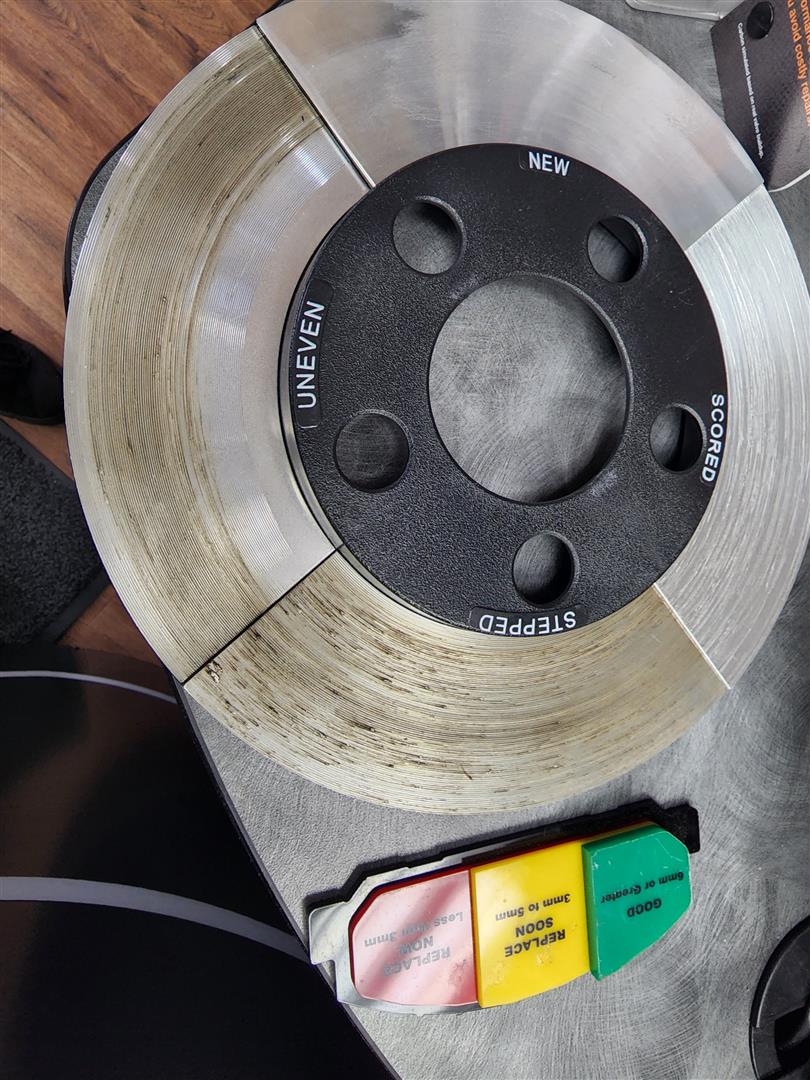
New brake pads and rotors (if needed)
Gloves and safety glasses
Jack and jack stands - Prepare the vehicle:
Park your vehicle on a level surface and engage the parking brake.
Loosen the lug nuts on the wheel(s) you'll be working on but do not remove them completely.
Using the jack, lift the vehicle and securely place it on jack stands.
Remove the lug nuts and wheel(s). - Remove the brake caliper:
Locate the brake caliper and remove the bolts securing it to the caliper bracket.
Carefully slide the caliper off the brake rotor, taking care not to damage the brake hose attached to it.
Use a piece of wire or a bungee cord to hang the caliper, preventing strain on the brake hose. - Remove the old brake pads:
Slide the old brake pads out of the caliper bracket.
Inspect the brake caliper for signs of damage or wear, such as leaks or torn dust boots. Replace or repair as necessary. - Replace the brake rotor (if necessary):
If you're also replacing the brake rotors, remove the caliper bracket by taking out the bolts securing it to the wheel hub.
Slide the old rotor off the wheel hub and replace it with the new one.
Reinstall the caliper bracket and tighten the bolts to the manufacturer's torque specifications. - Install the new brake pads:
Apply a thin layer of brake grease to the contact points of the new brake pads and slide them into the caliper bracket. - Compress the brake caliper piston:
Use a C-clamp or brake caliper compressor tool to carefully push the caliper piston back into its housing. This will create enough space to accommodate the new, thicker brake pads. - Reinstall the brake caliper:
Slide the caliper back over the brake rotor and new brake pads, ensuring the caliper piston clears the pads.
Reinstall the caliper bolts and tighten them to the manufacturer's torque specifications - Reassemble and test:
Reinstall the wheel(s) and hand-tighten the lug nuts.
Lower the vehicle off the jack stands and remove the jack.
Tighten the lug nuts to the manufacturer's torque specifications using a lug wrench.
Start the vehicle and pump the brake pedal a few times to ensure the brake pads are properly seated and the pedal feels firm.
Test drive your vehicle at a slow speed to confirm the brakes are working correctly. Listen for any unusual noises or vibrations.
Always consult your vehicle's owner's manual or a repair guide specific to your vehicle's make and model for detailed instructions and torque specifications. If you are unsure or uncomfortable performing this task, consult a professional mechanic.